


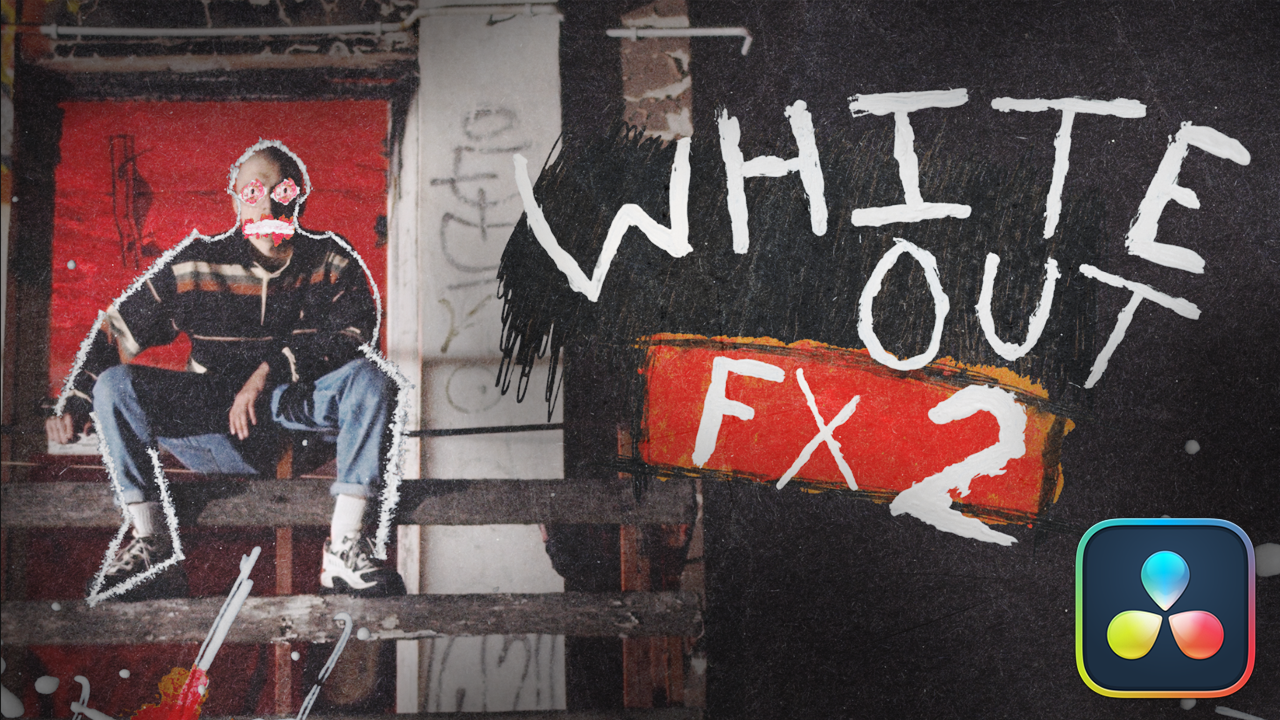

The new White Out FX 2 has been released! In this video we are going to cover how you can create these epic still-frame paint effects without the mess of well…paint! Normally to achieve this effect you must print out still frames onto paper and manually damage them, scan them, and then re-edit them. With the White Out Pack you can skip all of that mess and create the same grunge digitally. In this video we will show you how to outline your actors or objects in paint scratches, and how to combine them with paper overlays!

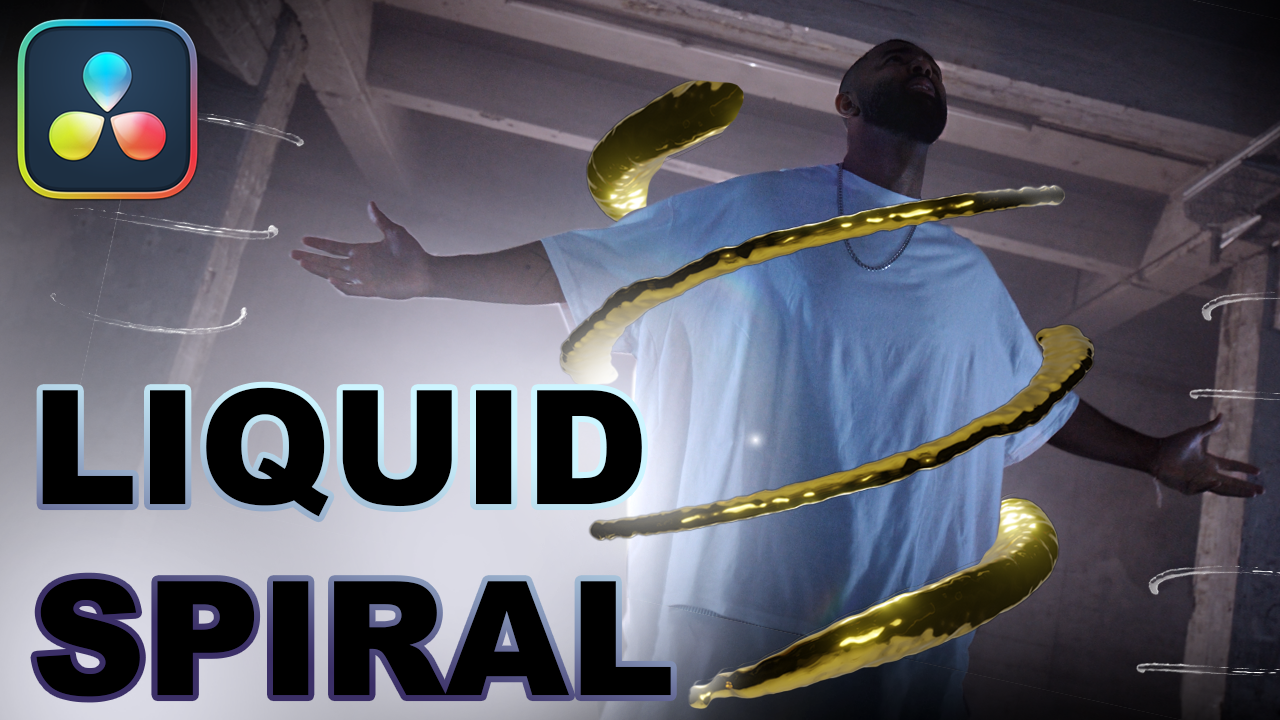
This video will show you how to create and mask an awesome sequence inside DaVinci Resolve Fusion using the CinePacks Liquid Spiral Effects. Create an amazing spiral effect using the front and back of the liquid wrapping effects, adjust colors and track the spiral around a moving object using the tracker node. All of the tools used in this video are available in the free version of DaVinci Resolve! Get ready to learn some awesome techniques and take your video editing skills to the next level!

The CinePacks Title Pack is here! In this video we will cover how to install fusion title templates in DaVinci Resolve, how to edit these titles, and how to customize them further in the fusion tab. We will also go over some very cool FX that you can apply to your titles, such as the film damage with glow. Get ready to take you music video titles to the next level!

In this video we will be going over how to create neat freeze frame paint effects in Davinci Resolve! These overlay effects are fun to mess with, and we will be showing you how to add an extra layer of dimension to your edits! All these assets are available on the CinePacks website, and you can follow along with the FREE sample pack!

This tutorial will go over a few amazing tips to help speed up your editing in DaVinci Resolve. Learn new hotkeys, hidden features, and neat tricks to take your editing to the next level!

This tutorial will go over how to use the liquid chrome assets from CinePacks to create unique and special VFX for your edits. Learn some useful masking techniques in the fusion tab and stretch the limits of these assets by adding glow effects to enhance the visuals! These assets are also very easy to customize, so we will go over how to change the color and animate them individually. Lastly, this tutorial covers how to add refraction lighting to the chrome! If you like these videos, subscribe for more!

In today’s video we are going to go over how to utilize both the CinePacks Shockwave FX’s in DaVinci Resolve. We’ll go over how to create basic titles to overlay the particles with, and how to change the color of every particle asset as well. From there, we will make an explosion behind a subject by rotoscoping them out of the frame. The final and most unique effect this video covers is displacement. Using the displace node in the fusion tab, we will use the luma channel of the particles in this pack to displace our footage. The results are very stunning! Make sure to visit the CinePacks store and subscribe to the channel for more!

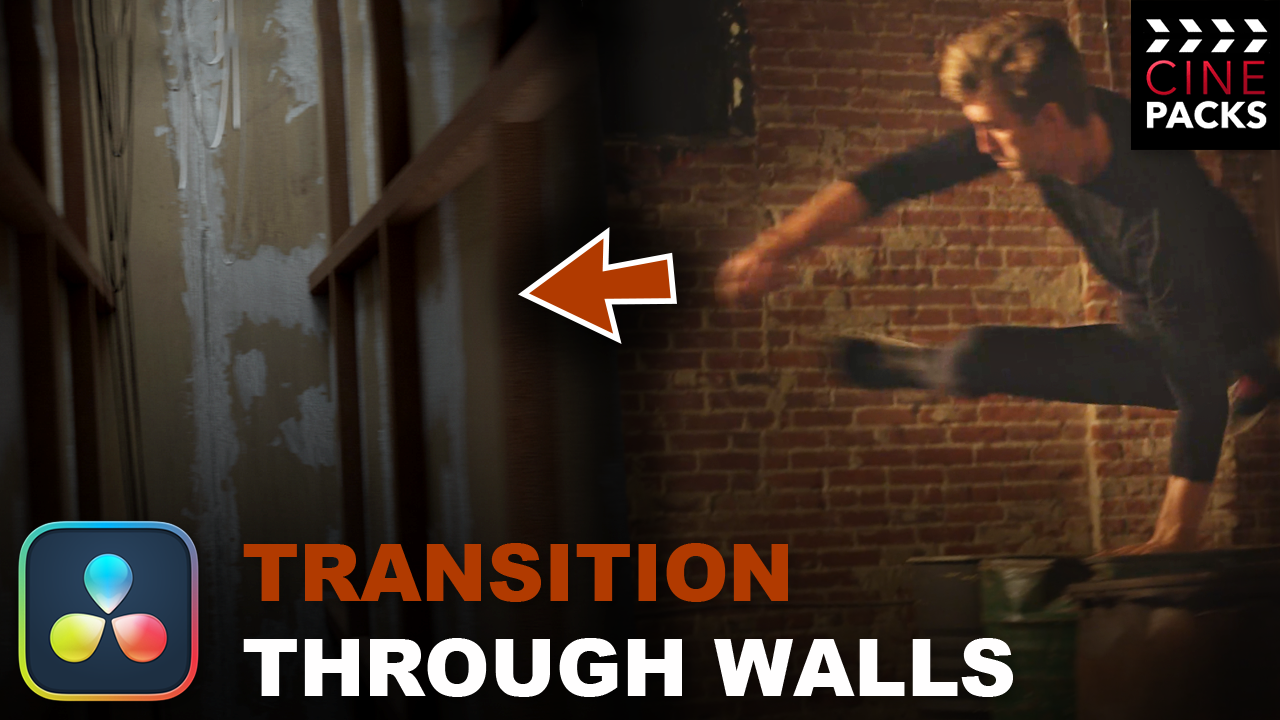
Have you ever seen those really neat transitions where the camera pans through a wall? In this video we will be using FREE assets from CinePacks to recreate this effect in Davinci Resolve.

How to get that retro look in your videos using DaVinci Resolve 17.

This video will show you how to make a low shutter speed effect in Davinci Resolve 17

Free scary sounds FX

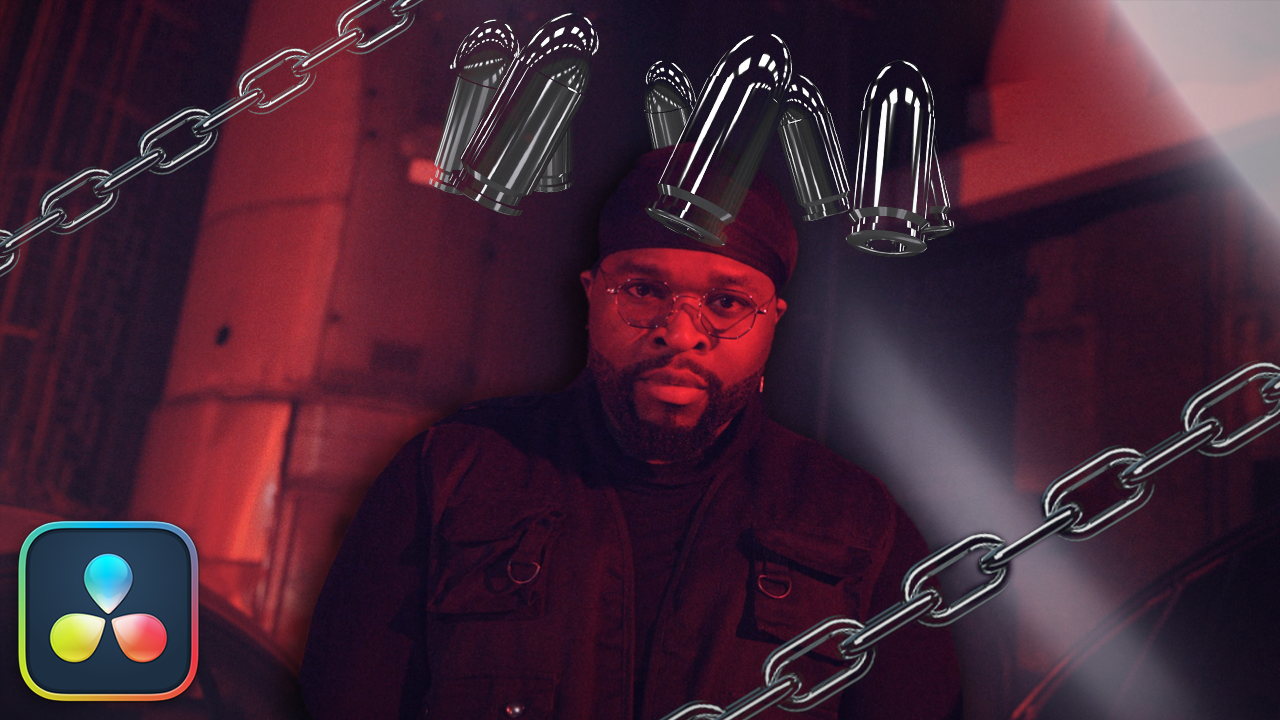
Learn how to use these 3D Chrome video effects in DaVinci Resolve before adding them to your next video project.